Choose Language
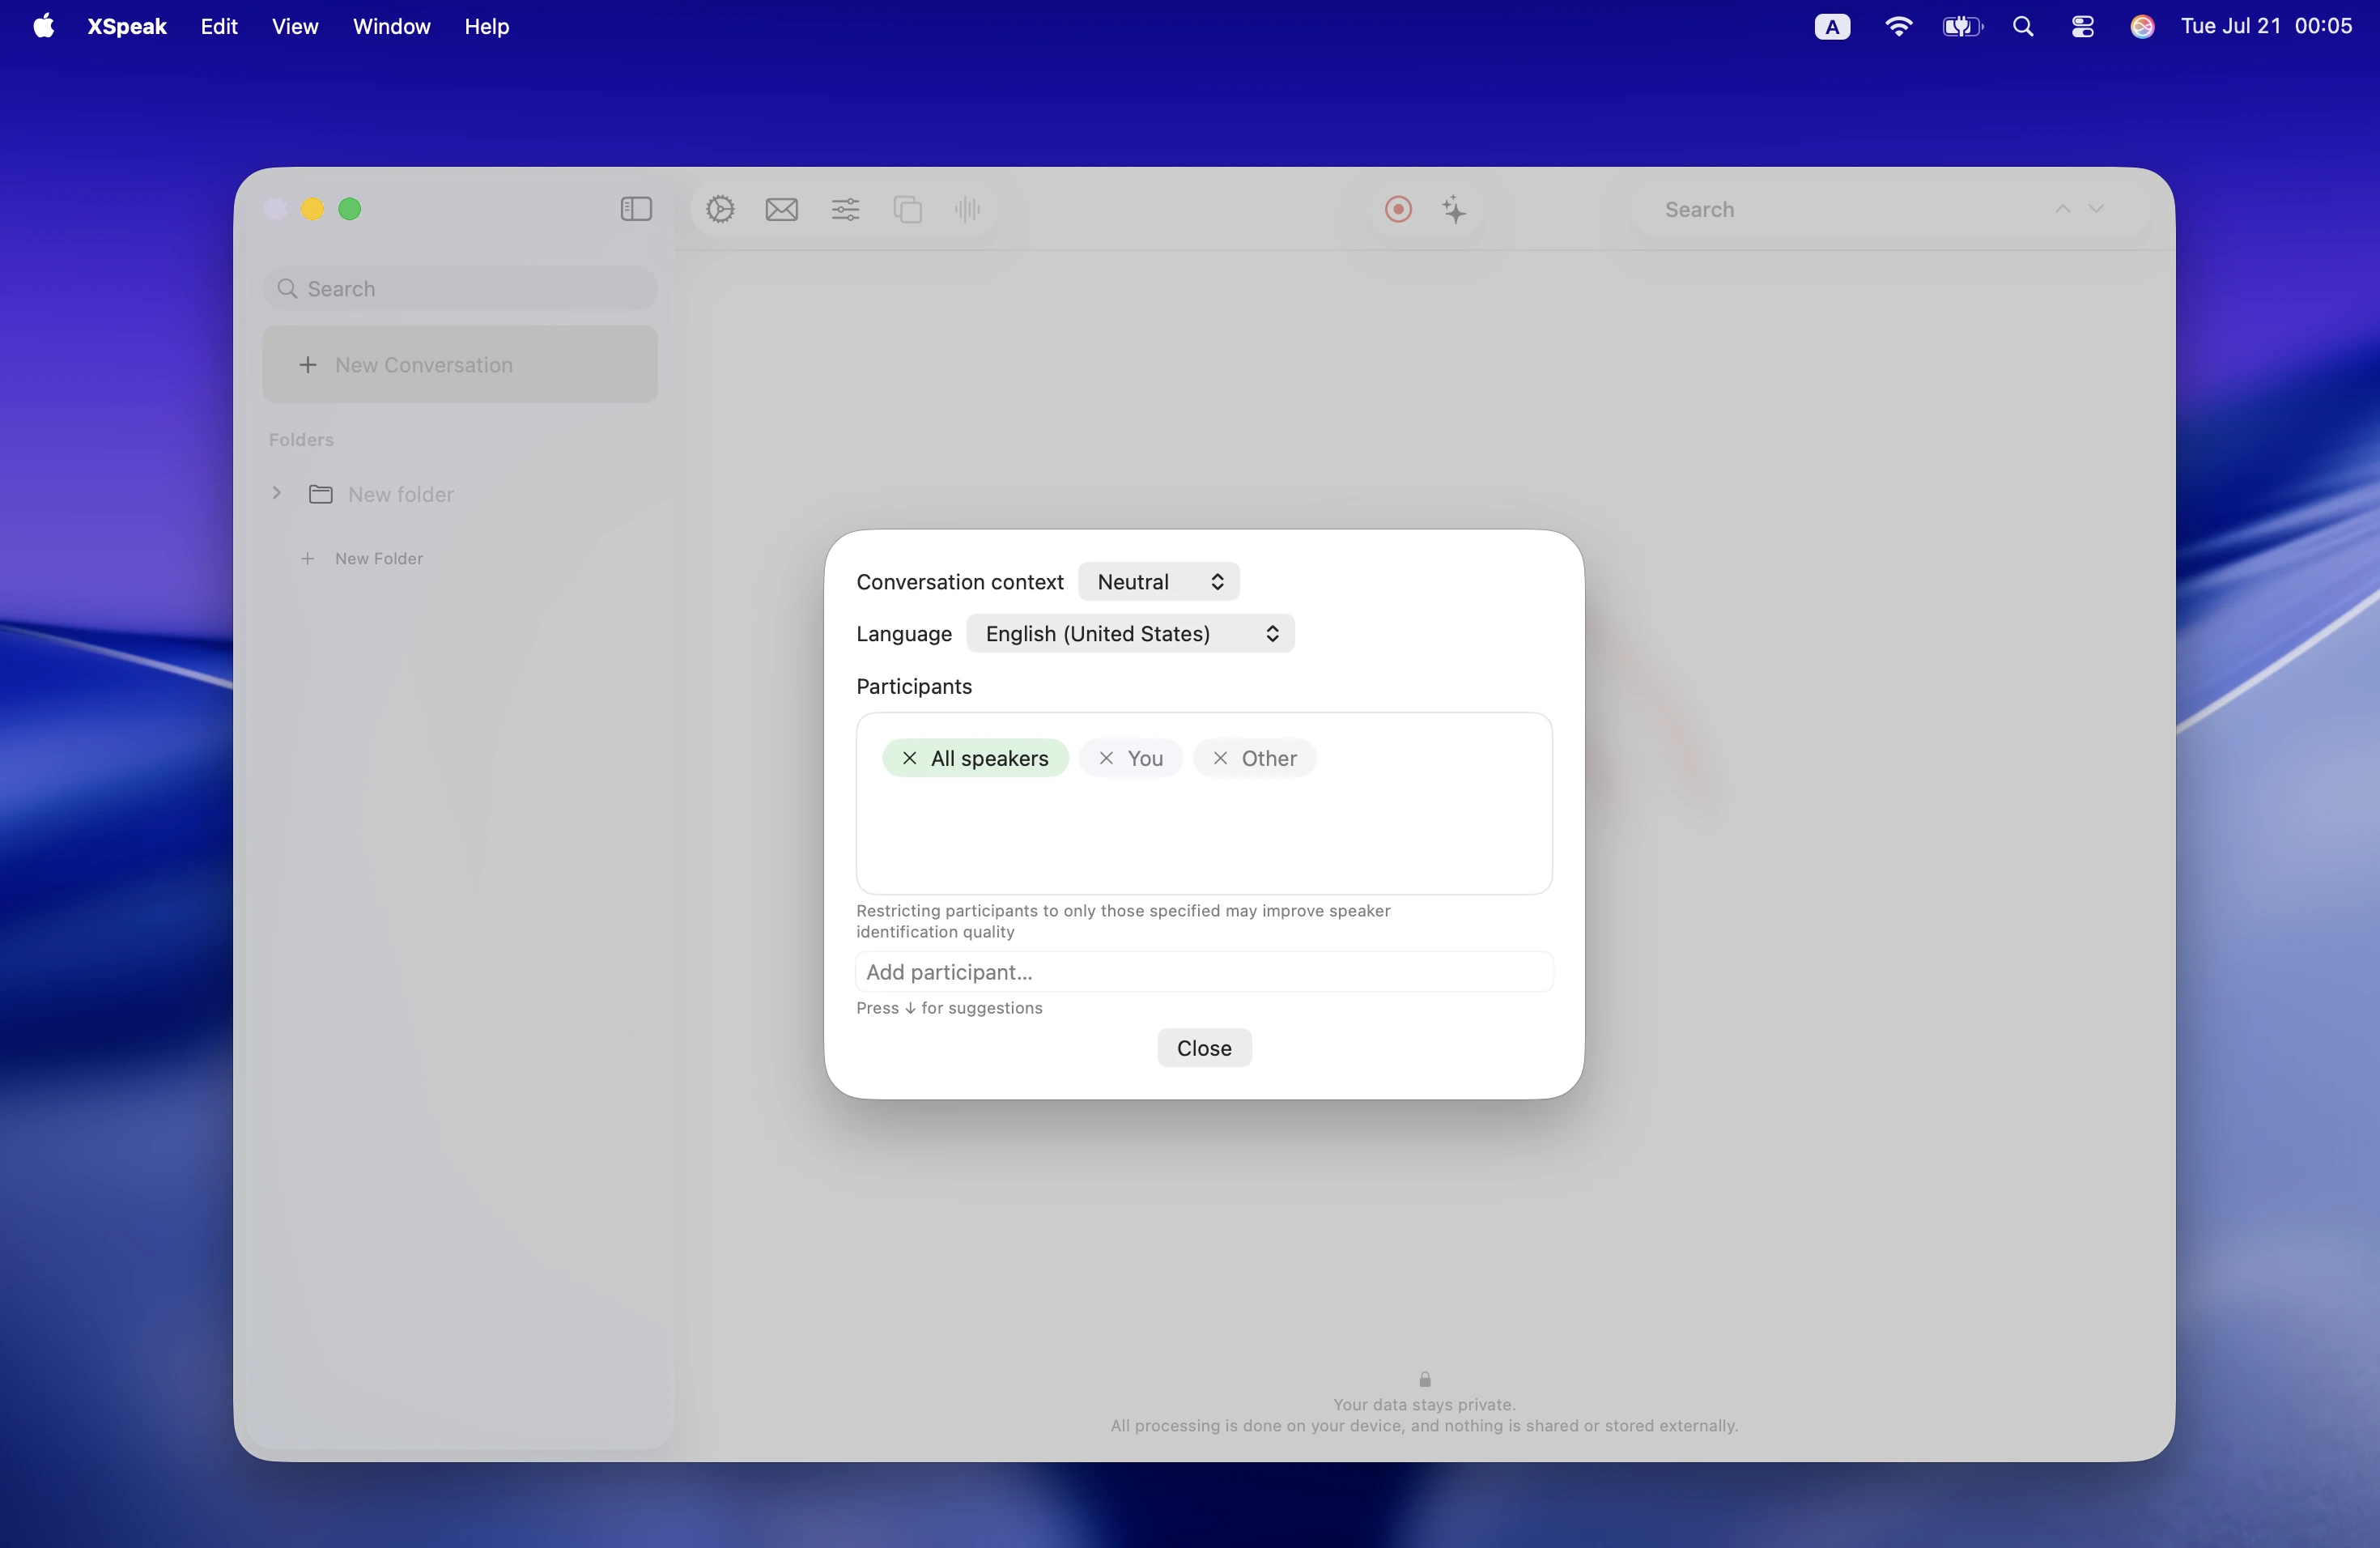
By default, XSpeak is configured to transcribe the English language. If you need to record in another language, press the Conversation Settings button in the top toolbar and choose the appropriate language:

Supported Languages
- French
- Korean
- Portuguese
- German
- Italian
- Chinese
- Spanish
- English
- Cantonese
- Japanese
Choose Conversation Context
You can also choose the context in meeting settings. It affects AI analysis and changes the prompt passed to the model for AI actions, chat, and real-time insights.
Supported Contexts
- Neutral
- Personal
- Work
Choose Participants
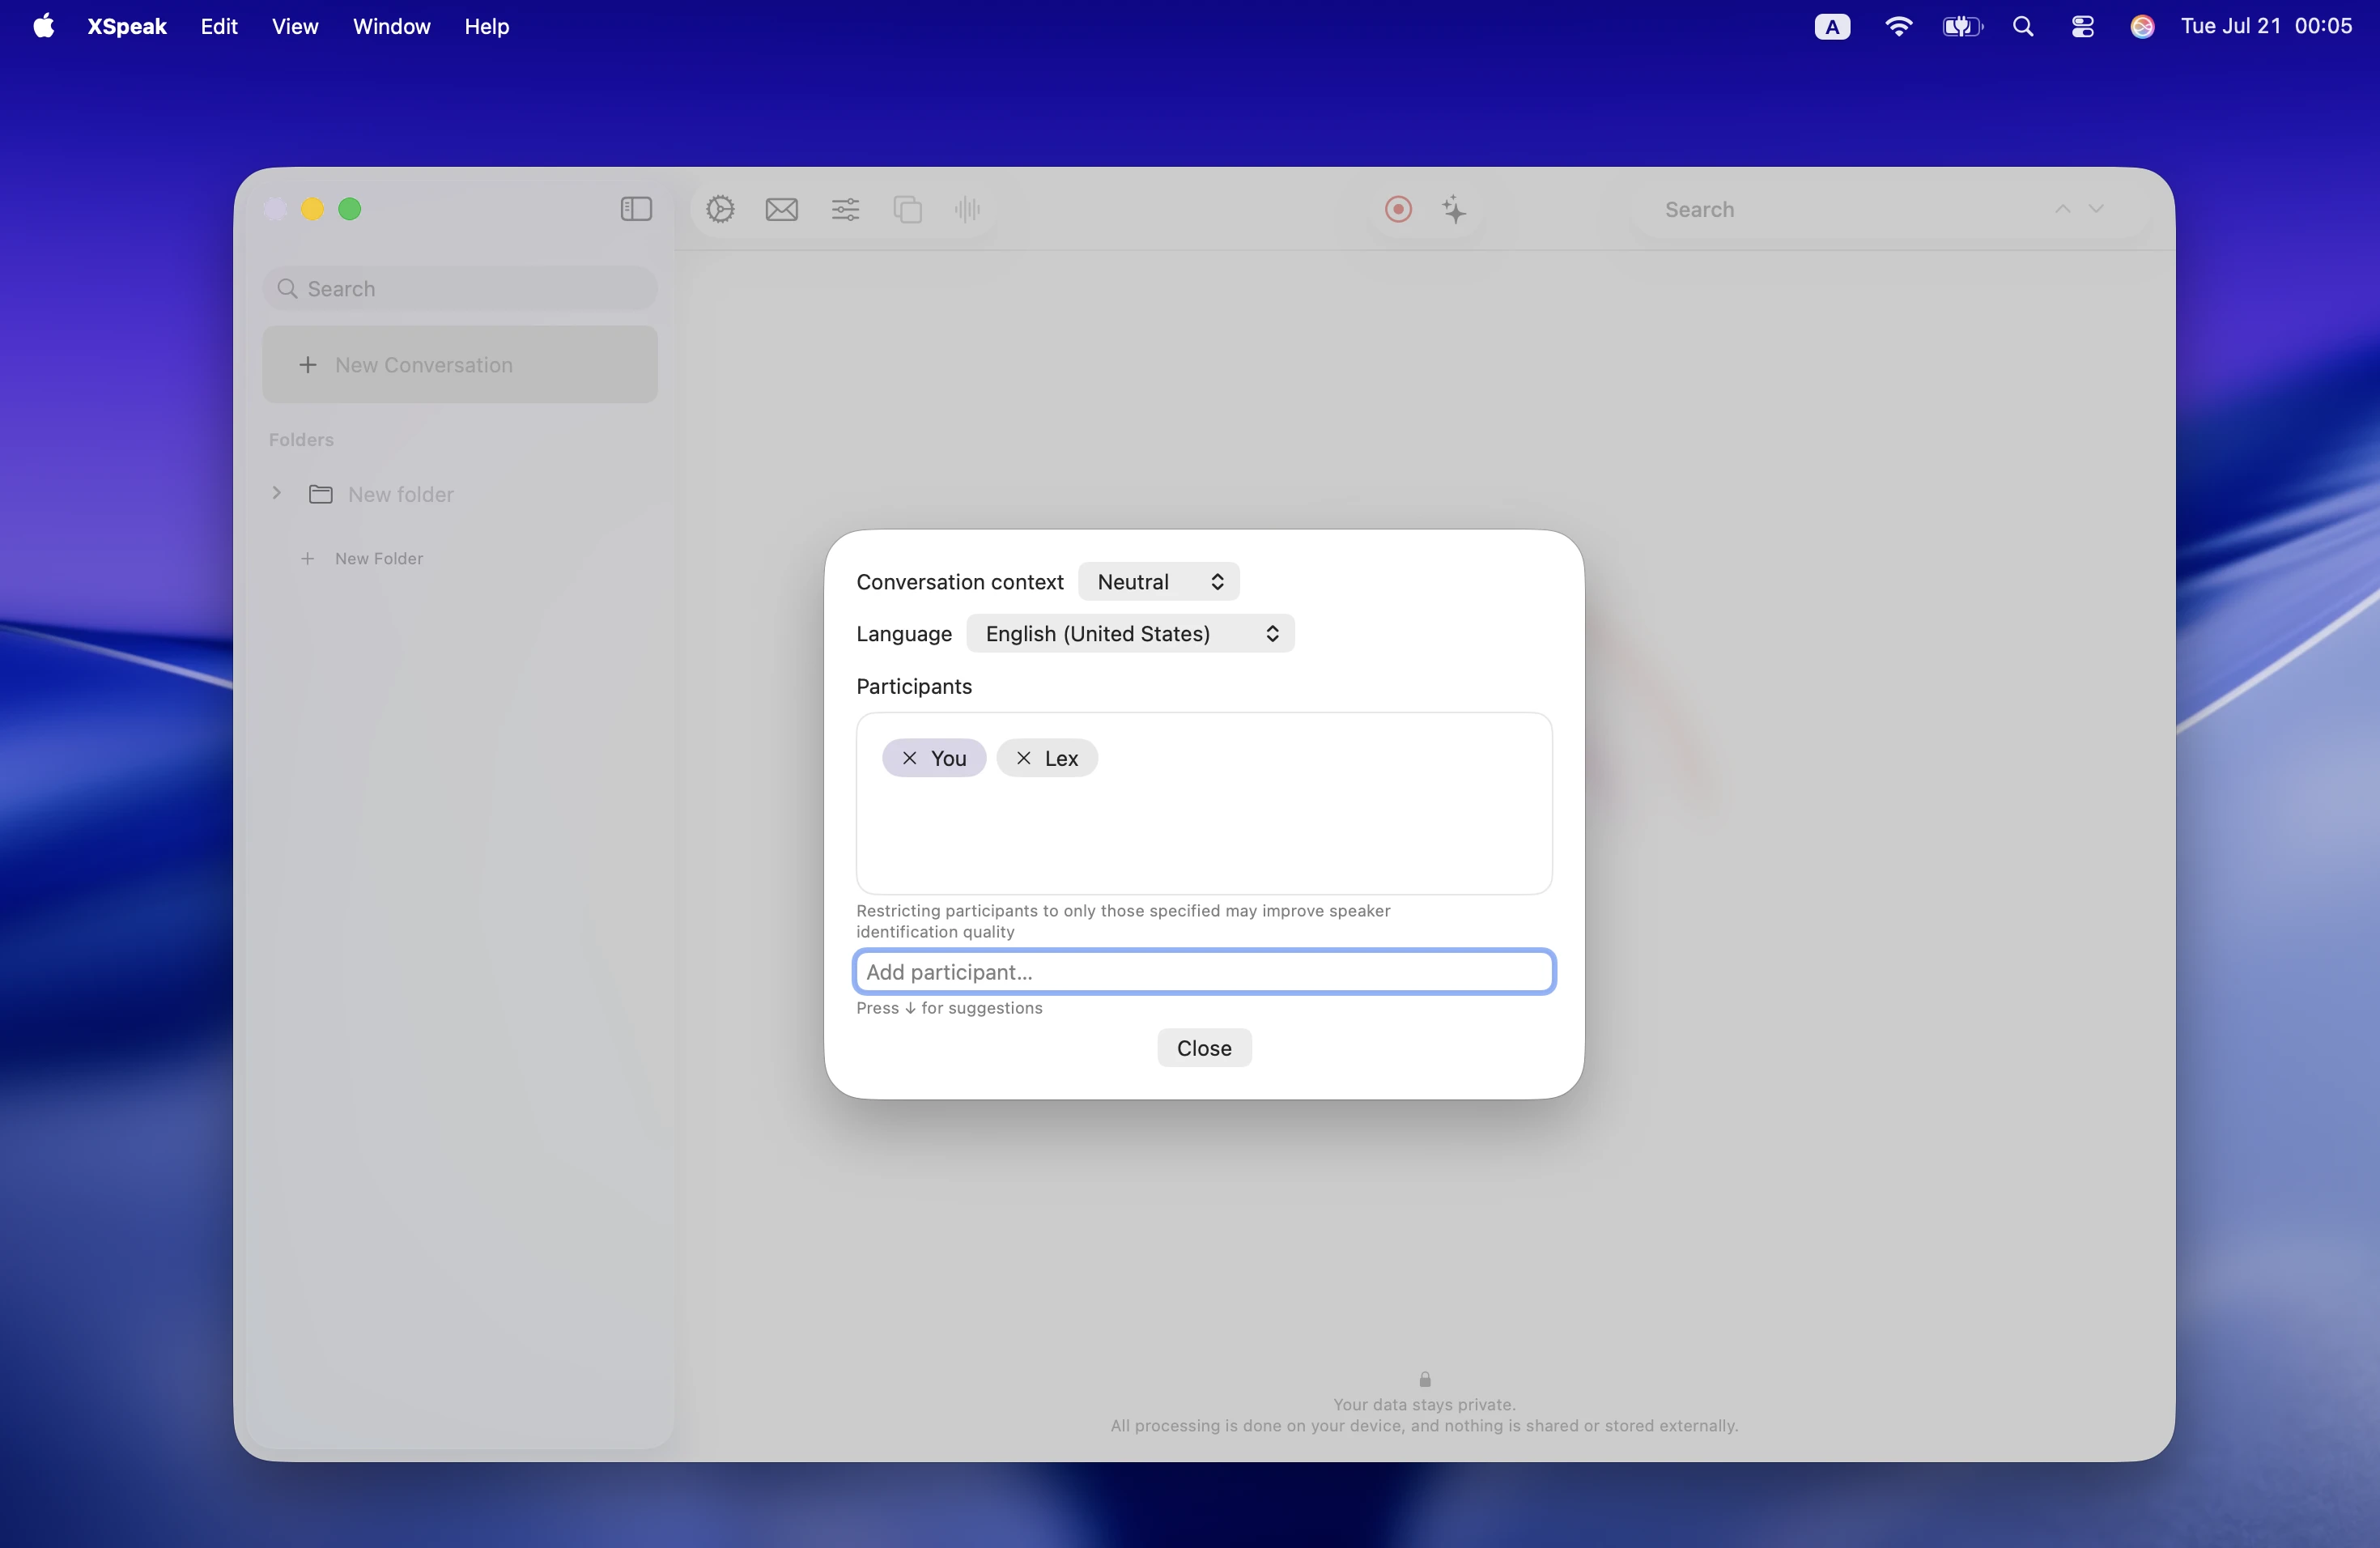
If you know who will be participating in the conversation and you want to improve speaker identification quality, you can select the participants of the conversation in Conversation Settings. Remove the “All Speakers” badge and the “Other” badge and add only those who are participating. It’ll help the speaker diarization engine properly recognize speakers:
Starting Recording
Press the recording button (at the top toolbar). You’ll see a recording consent disclaimer. Please obtain the consent of all recorded parties before starting the recording if that’s required by law in your region. After you obtain consent, press “Agree and Start” and recording will start:
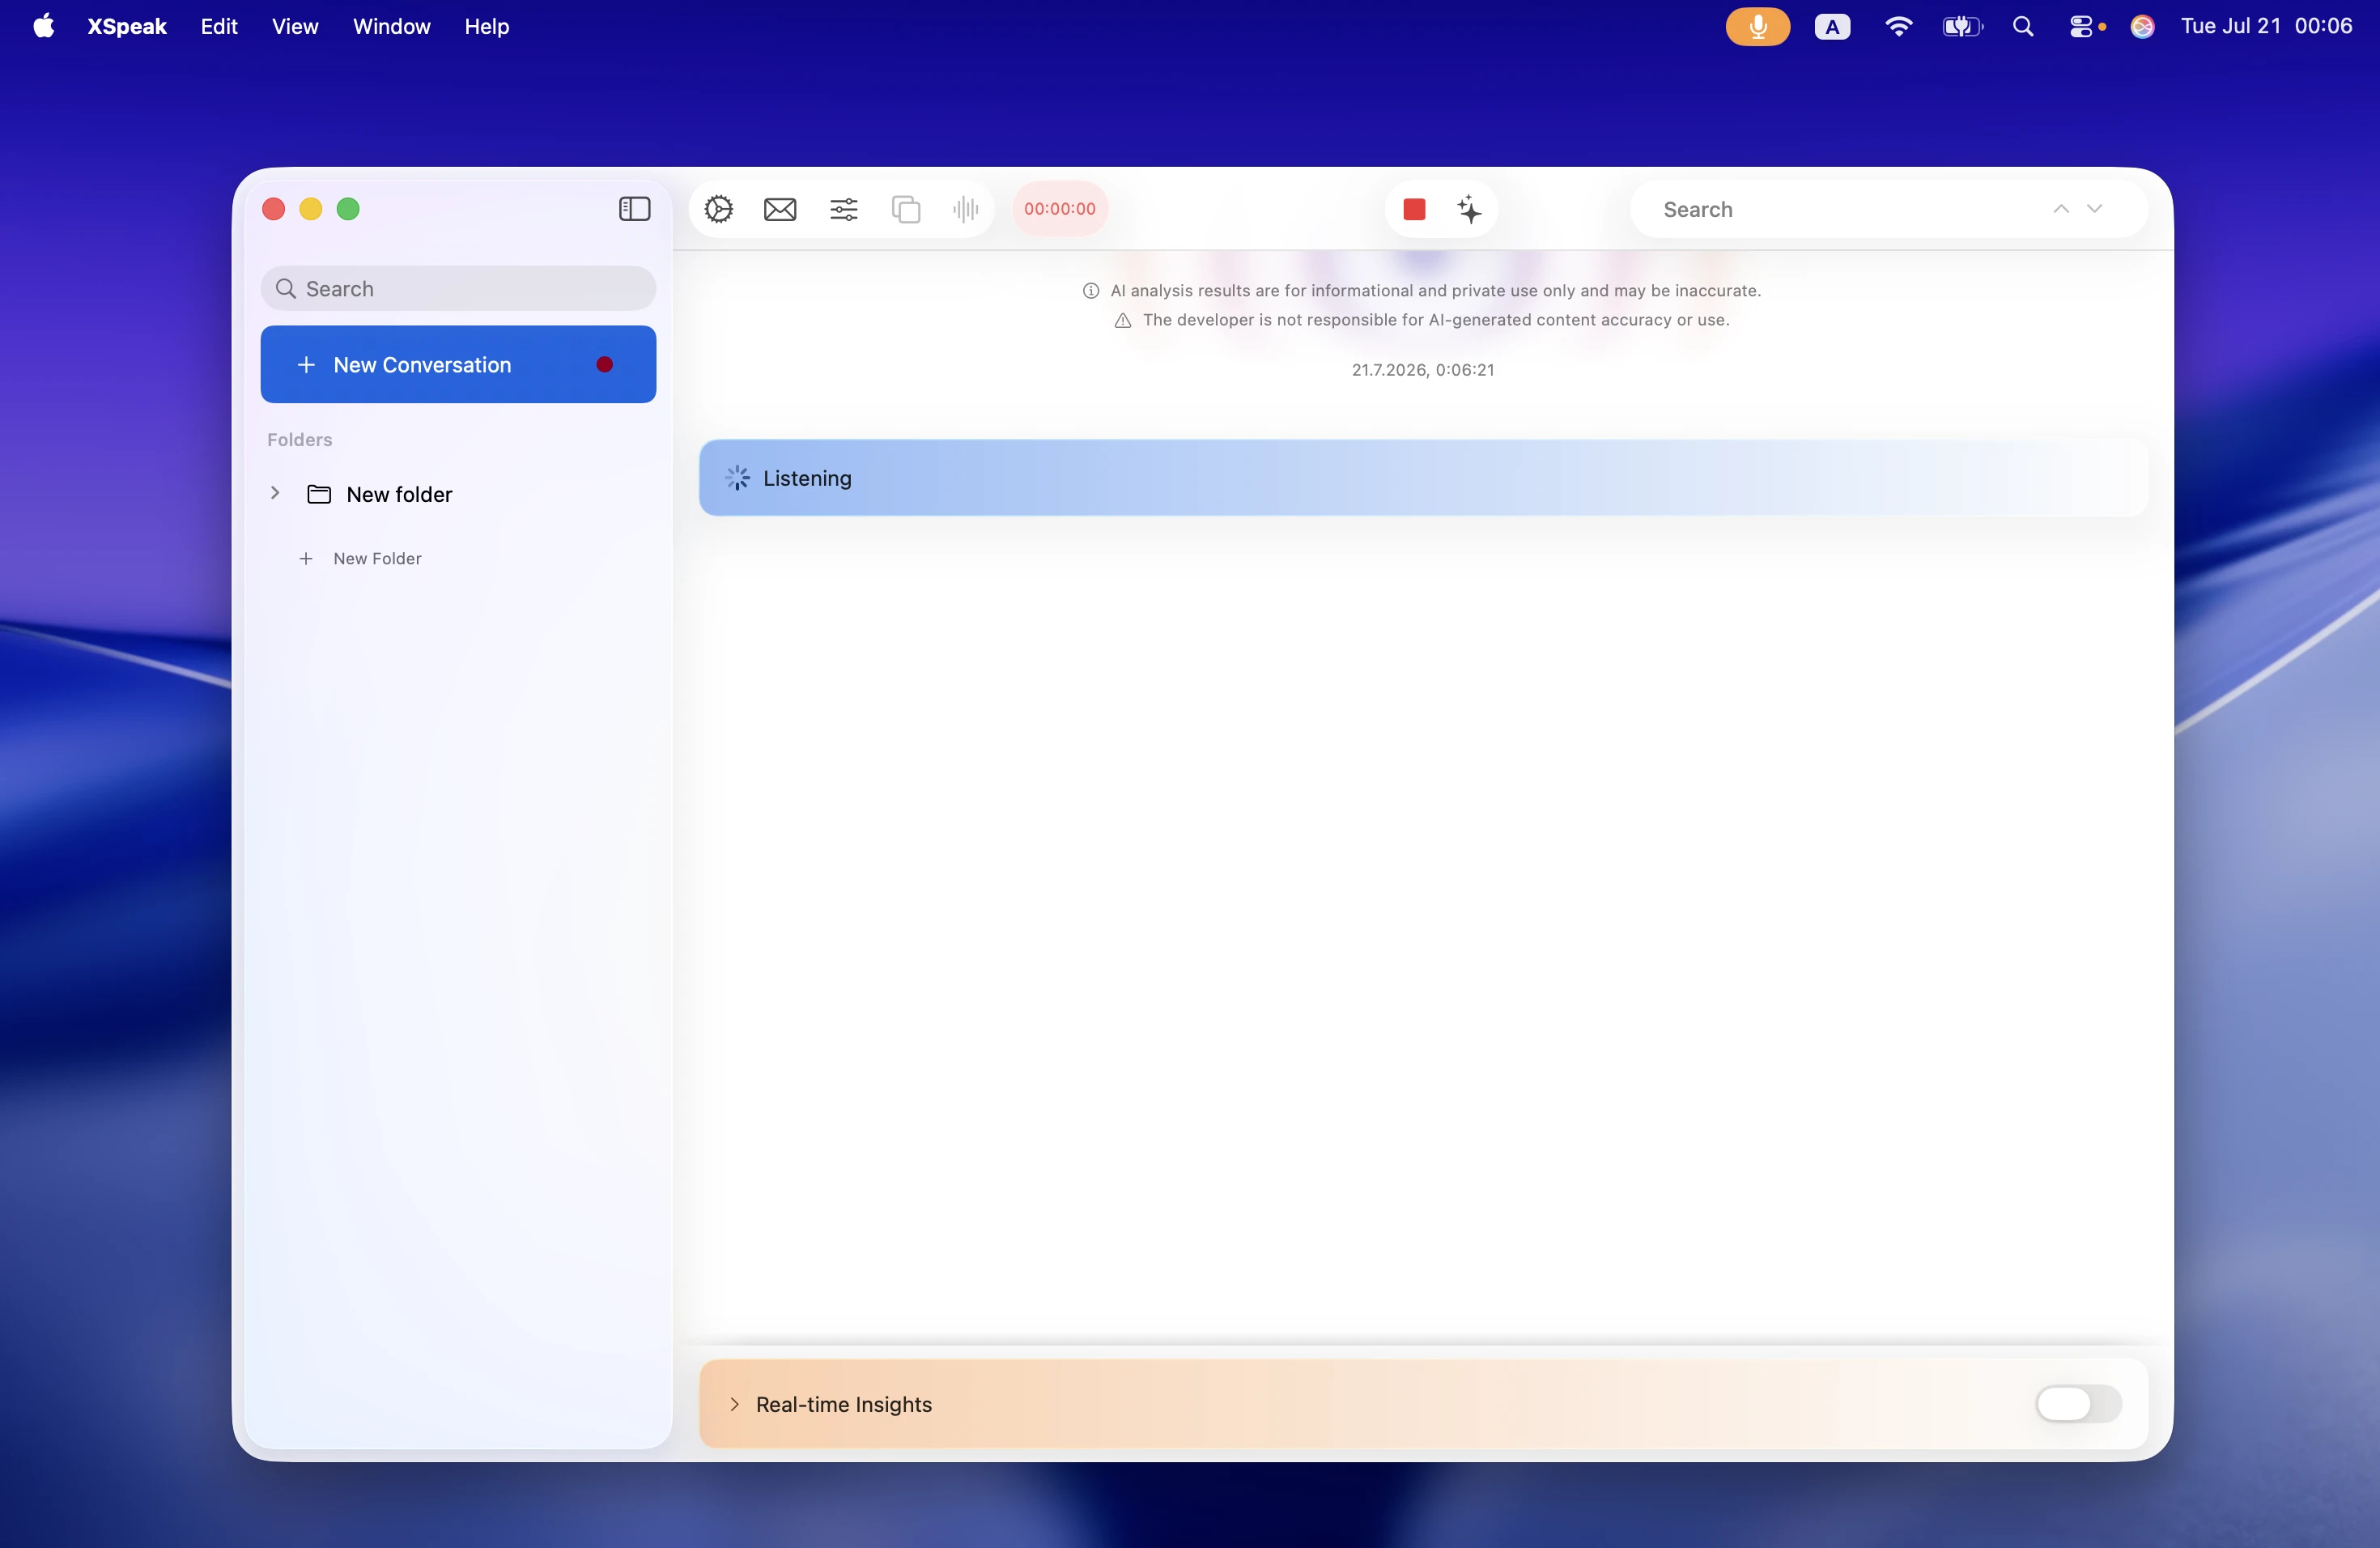
Recording consists of individual statements, each labeled with the speaker.
Conversation Naming
Once the recording has enough context, it’ll be named automatically by the chosen AI model. You can rename it manually if you need to.
Assigning Speakers
XSpeak learns speakers’ voices when you assign the correct speakers to statements. Initially, it’ll assign “Other” to all unknown voices. To change the speaker and teach XSpeak other people’s voices, press the Speaker label:
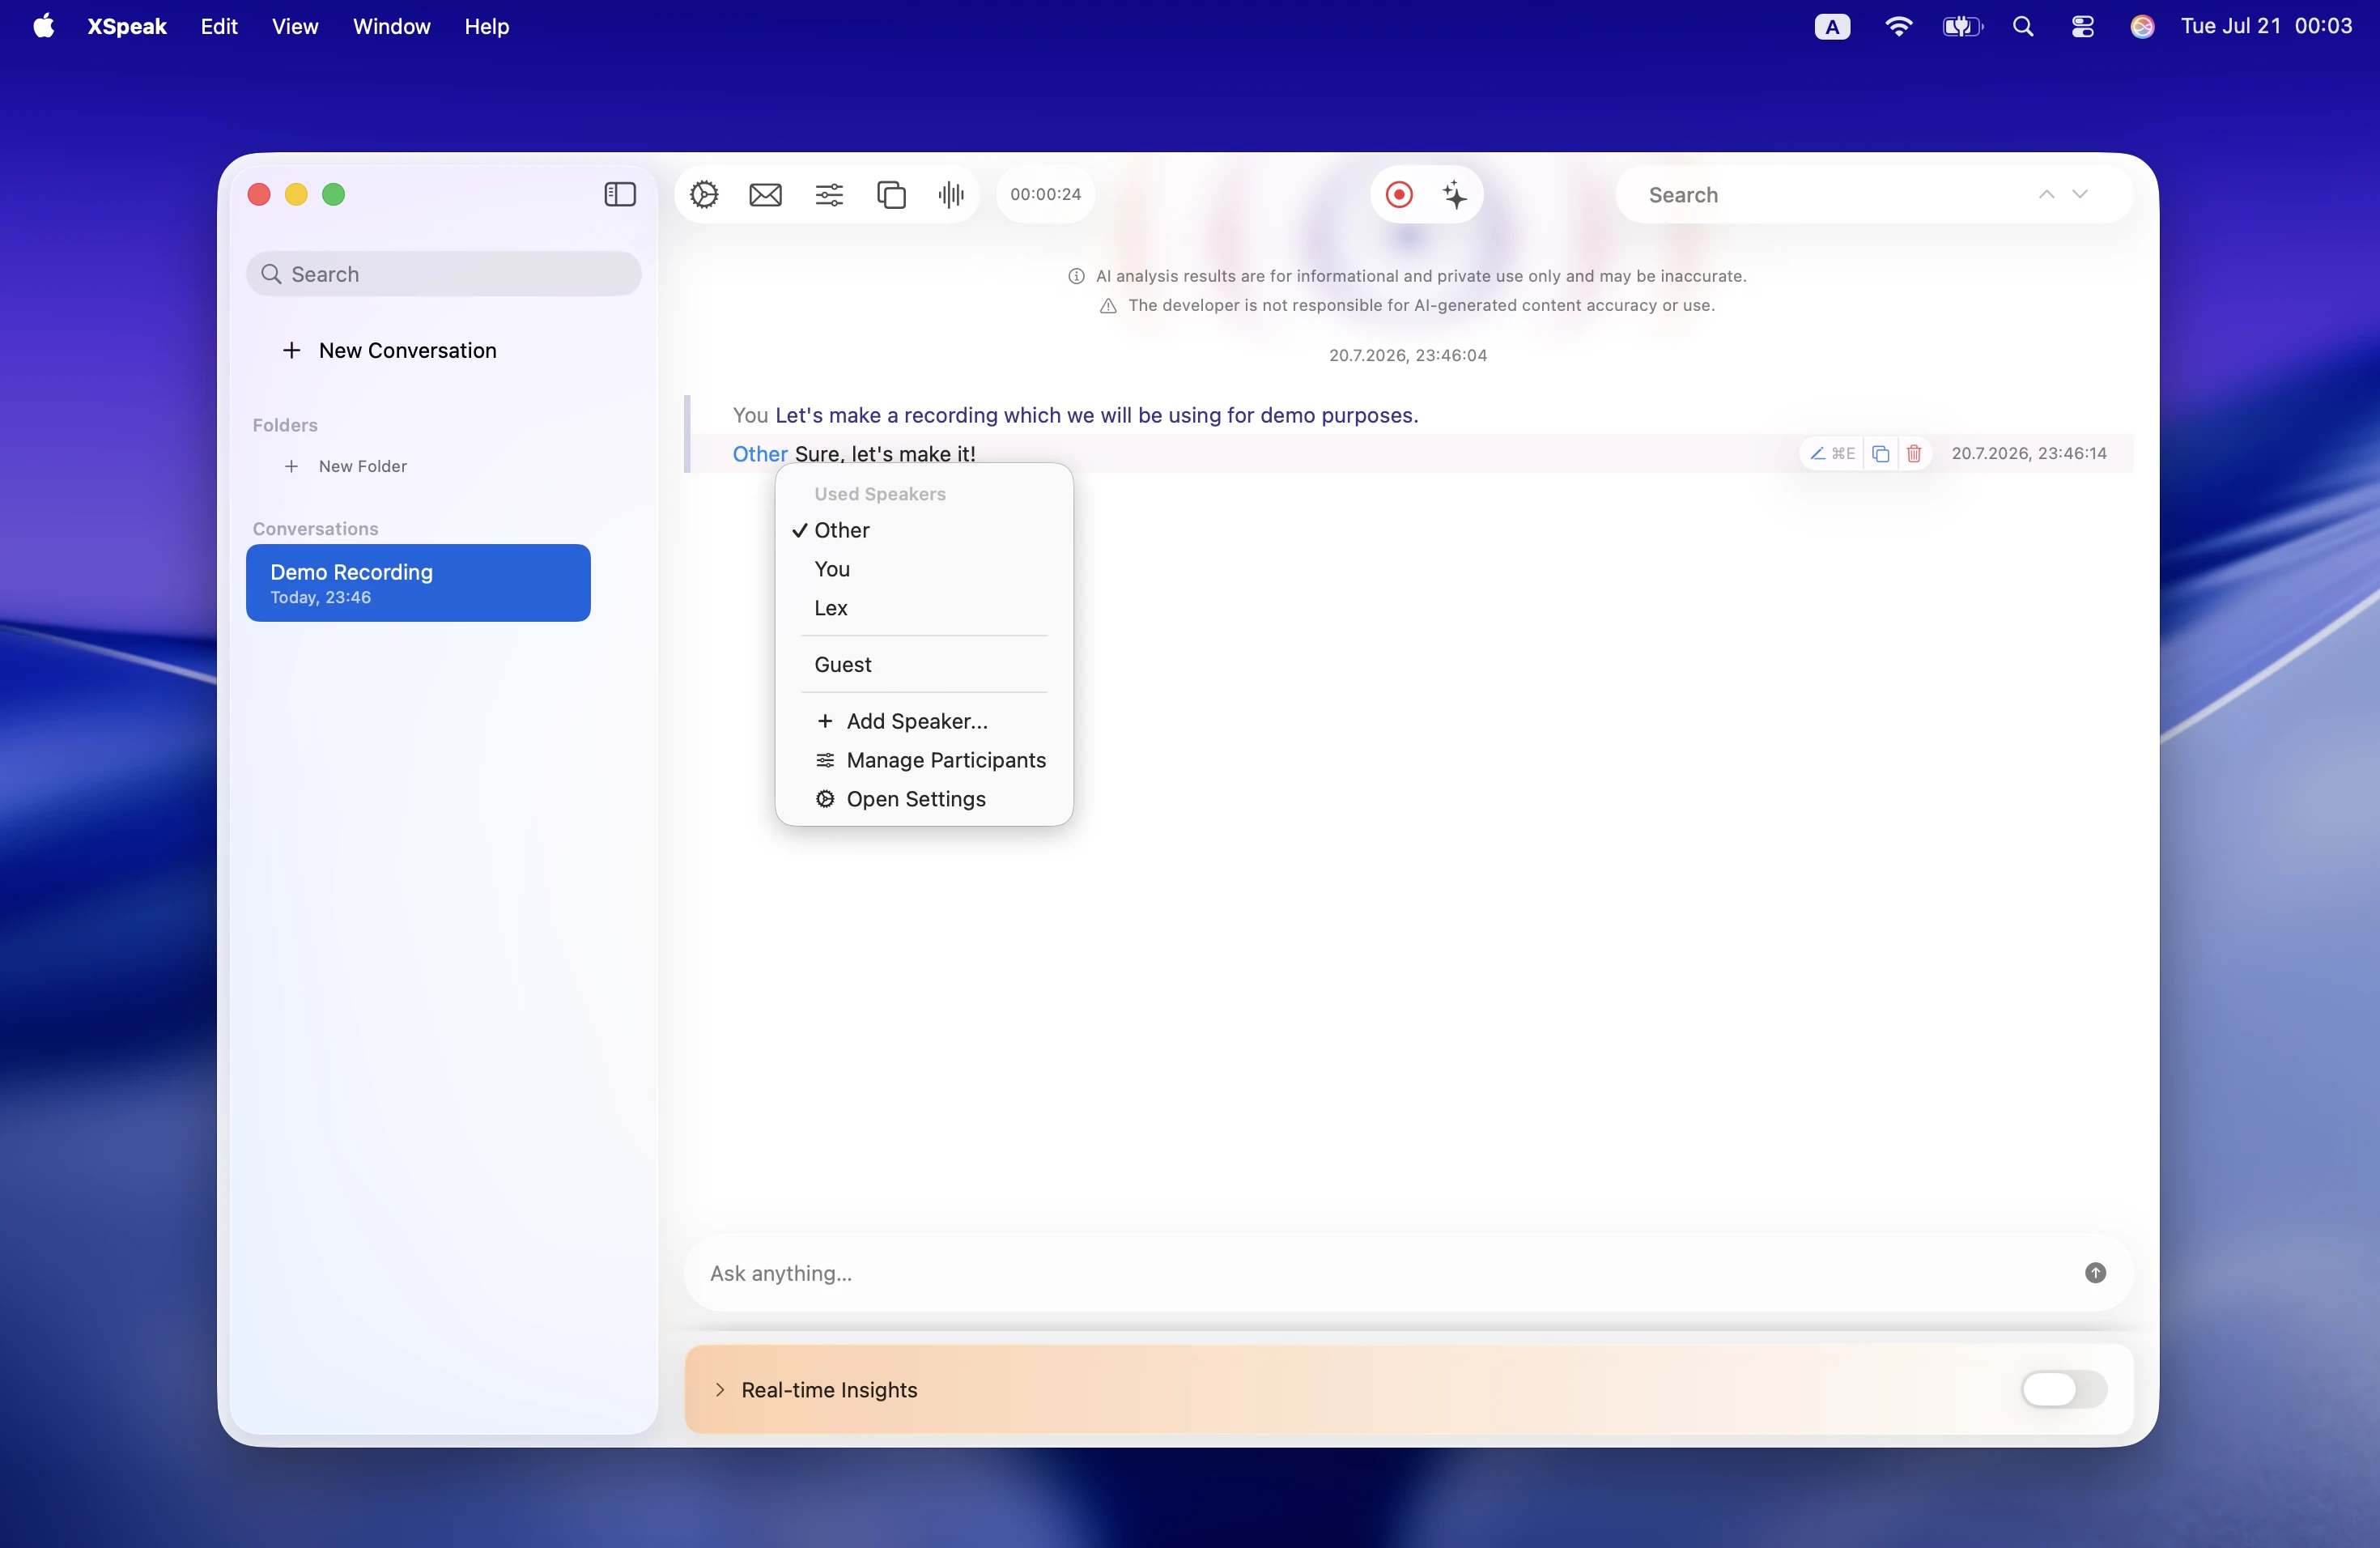
Choose “Add Speaker…” to create a new speaker right in place, or choose a speaker you created before.
The more you assign speakers, the better speaker identification becomes. In a perfect case, the app should have samples of different lengths, intonations, and volumes of each speaker.